How to Set Up the Estimated Delivery Widget
The Estimated Delivery Widget helps customers understand when their order will arrive by showing real-time delivery estimates directly on the product page.
Below is a step-by-step guide to setting it up.
Conditions Tab
Use this tab to define how delivery dates are calculated and the markets in which the widget appears.
Widget
-
Title
Internal name for the widget. This is only visible to you.
Order Processing Settings
These settings define how long it takes to prepare an order before shipping.
- Processing time
- Shortest: minimum number of processing days
- Longest: maximum number of processing days
-
Processing cutoff time
Orders placed after this time will start processing on the next business day.
-
Processing working days
Select the days you process orders (e.g. Monday–Friday).
-
Blocked dates (Holidays)
Add specific dates when orders should not be processed (for example, December 25).

Order Transit Settings
These settings control how long delivery takes once the order has been shipped.
- Order transit time
- Shortest: minimum transit days
- Longest: maximum transit days
-
Order transit days
Select the days when orders are in transit.
-
Blocked dates (Holidays)
Exclude specific non-shipping days during transit.
Markets
Choose where the widget will be visible:
- All markets
- Specific markets only
Content Tab
Use this tab to customize the text, variables, icons, and labels shown to customers.
Description
This is the main message displayed above the delivery timeline.
Example:
🕚 Order today within {counter}, you’ll receive your package between {delivery_from} to {delivery_to}
Available Variables
You can dynamically personalize the message using these variables:
{counter}– Countdown timer until the processing cutoff time{ordered_date}– Date when the order was placed{processing_from}– Estimated processing start date{processing_to}– Estimated processing end date{delivery_from}– Estimated delivery start date{delivery_to}– Estimated delivery end date{stock_left}– Number of items left in stock{product_name}– Product name
Date Settings
- Date format (e.g.
03/02/2026) - Date separator (e.g.
/) - Include year (optional)
Icons
Customize each step of the delivery timeline:
“Order purchased” element
- Title
- Icon (upload or select)
- Optional color filter
“Order processing” element
- Title
- Icon
- Optional color filter
“Order delivered” element
- Title
- Icon
- Optional color filter
Note: The recommended icon upload size is 25 x 25 px
Translations
Translate all widget content into different languages using the Translations section.
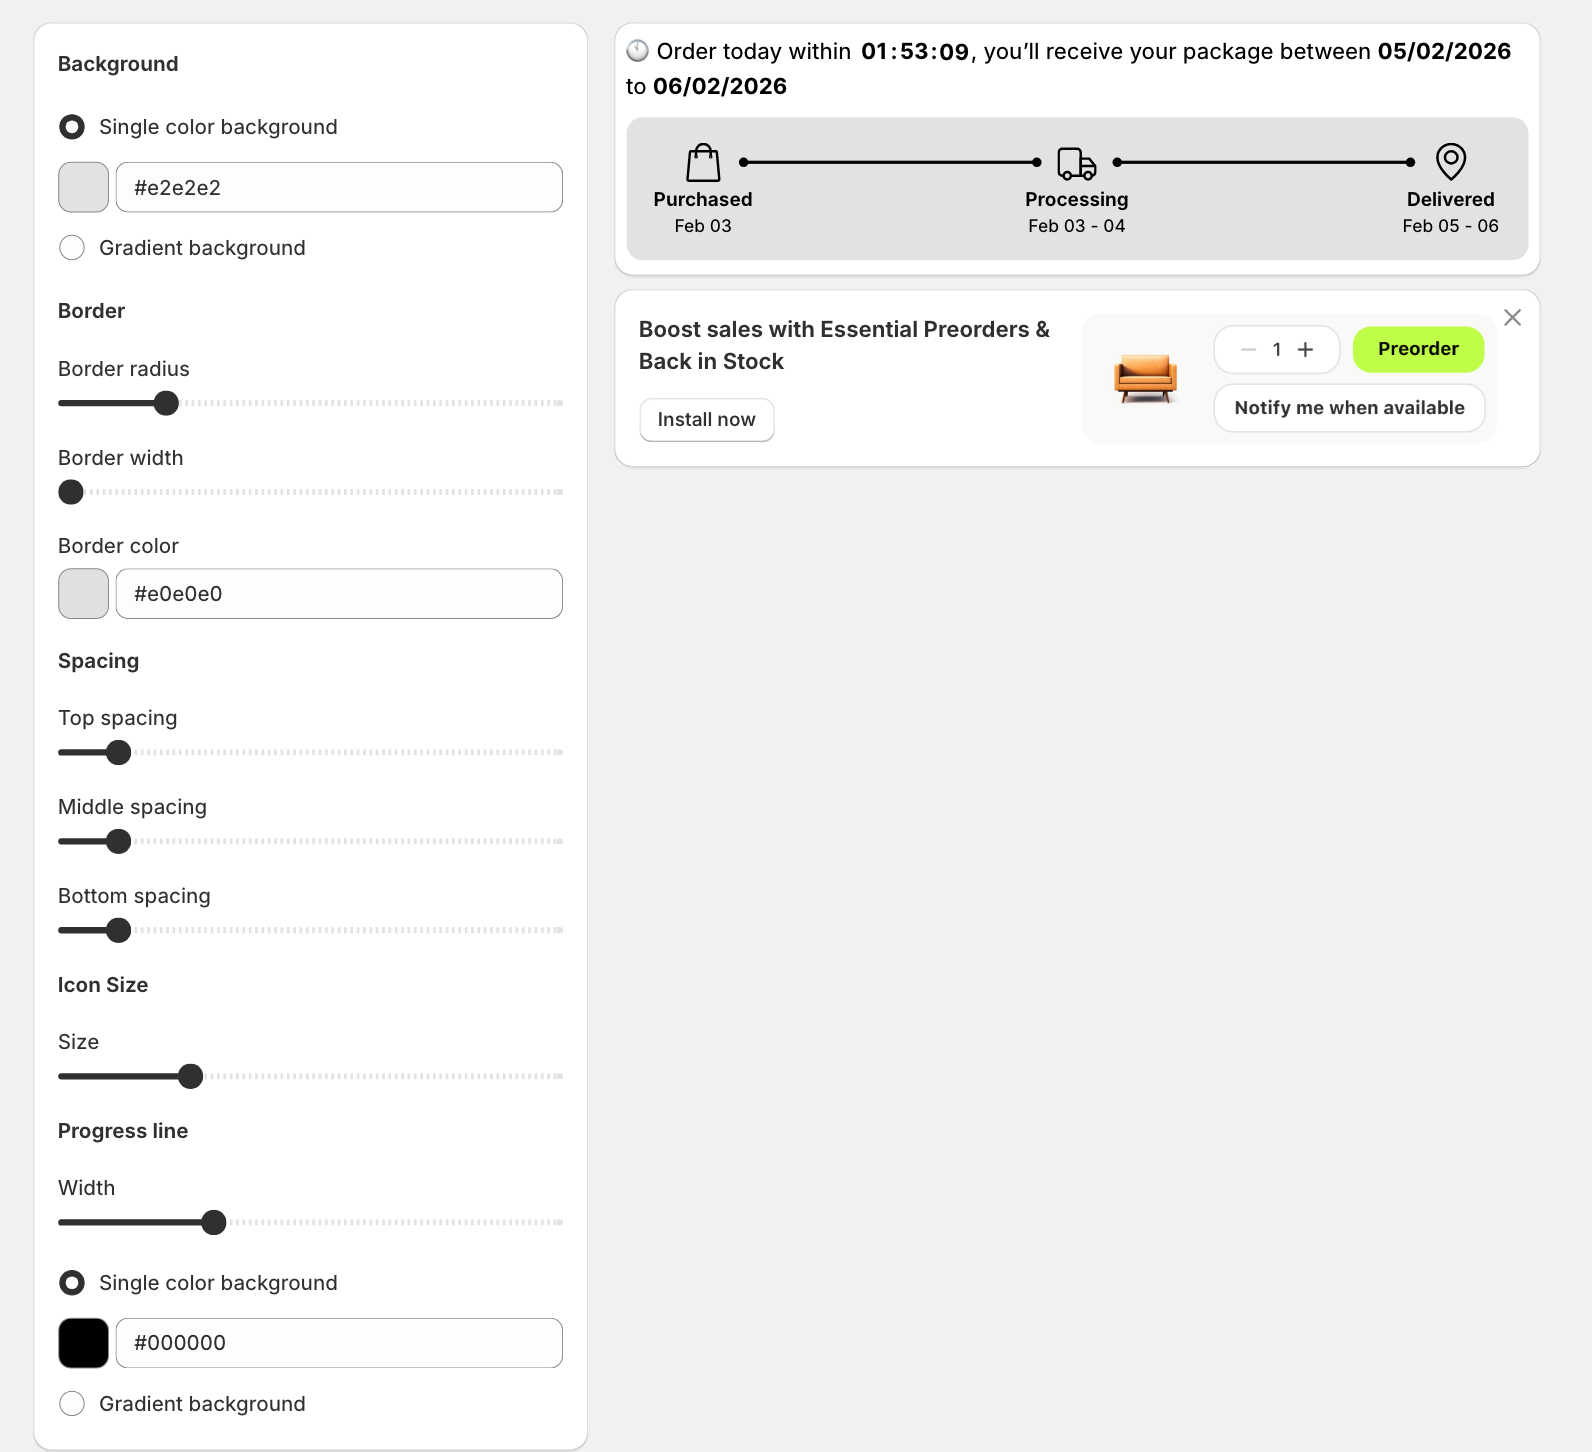
Design Tab
Use this tab to control the widget’s visual appearance.
- Background (single color or gradient)
- Border radius, width, and color
- Spacing (top, middle, bottom)
- Icon size
- Progress line width and color
- Typography (font, size, and color)
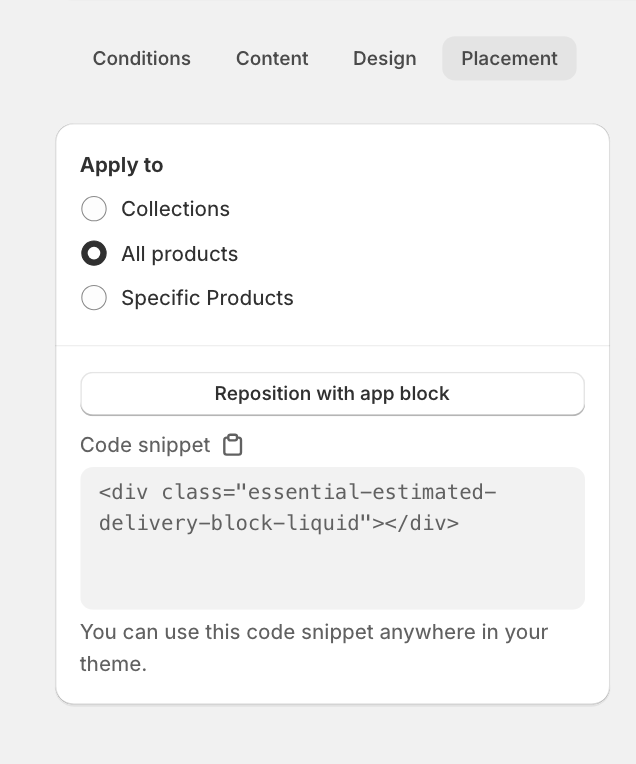
Placement Tab
Choose where the widget appears:
- All products
- Collections
- Specific products
Code Snippet
You can also manually place the widget using this snippet:
<div class="essential-estimated-delivery-block-liquid"></div>
Paste it anywhere in your product page template on your theme editor or theme files where you want the widget to appear.