How to Upload Your Own Icon or Image in the Trust Badges Widget
Essential Trust Badges & Icons allows you to upload your own custom icon or image to better match your brand and store design. This article explains which formats are supported and how to upload your own icon step by step.
📌 Supported File Formats & Size Guidelines
Before uploading your icon, please make sure it meets the recommended requirements:
- Recommended format: .SVG
- Best quality at any size
- Scales perfectly on all devices
- Other supported formats: .PNG or .JPG
- Maximum recommended size: 512 × 512 px
- Use a transparent background when possible for the best visual result
1️⃣ Open the Trust Badge You Want to Edit
- Open Essential Trust Badges & Icons
- Click on the badge you want to customize or create a new one.

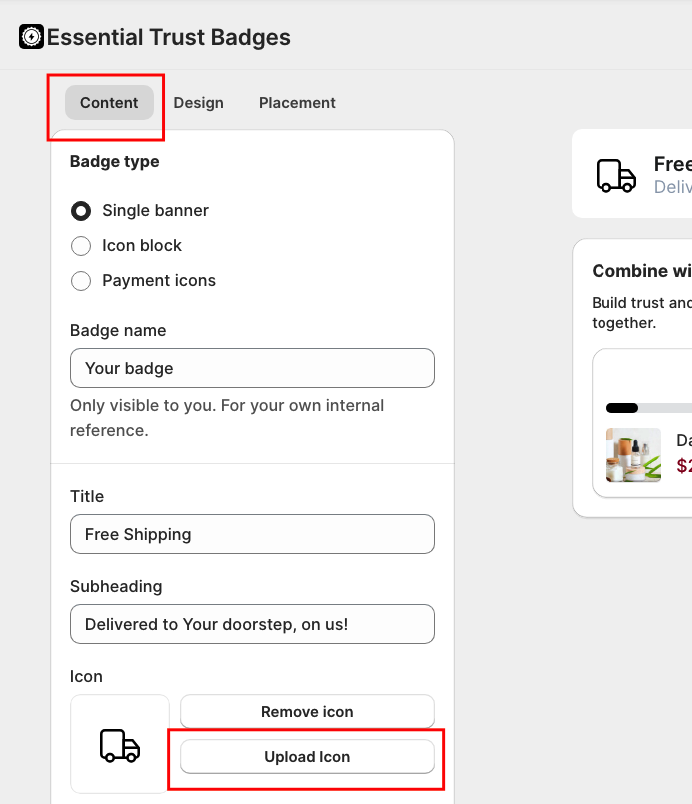
2️⃣ Upload Your Own Icon or Image
Custom icons are uploaded from the Content tab inside the badge editor.
Steps:
- Open the badge
- Go to the Content tab
- Scroll down to the Icon section
-
Click Upload Icon
- Select your .SVG, .PNG, or .JPG file
- Wait for the upload to complete

Once uploaded, the new icon will immediately appear in the preview.
📌 Note:
Uploading custom icons is available on Starter plan and higher.
3️⃣ Save and Publish the Badge
Once you’re happy with the icon:
- Click Save
- Click Publish (if the badge was in Draft)
- Refresh your product or cart page to confirm the icon is visible
📌 Common Issues and Tips
- If the icon looks blurry, switch to an SVG file
- If using PNG or JPG, make sure the image does not exceed 512 × 512 px
- If the icon does not appear, confirm:
- The badge is Published
- The badge placement is correct
- The app-embed is enabled in your active theme
✅ Notes
- SVG icons provide the best quality and scalability
- Custom icons help match your store branding
- You can update or replace icons at any time
If you need further help, feel free to reach out to our support team, we’re happy to help 💙