🚀 Getting Started with Essential Loyalty: Complete Setup Guide for Shopify
Setting up a powerful loyalty program on your Shopify store has never been easier! With Essential Loyalty, you can reward returning customers, boost engagement, and build a loyal community all in just a few steps.
In this guide, we’ll walk you through the initial setup process to make sure your rewards system is live and looking great. Let’s get started! 🎉
Start by setting your reward rate
To begin, search for "Essential Loyalty" using the search bar at the top of your Shopify admin dashboard.
Once you open the app, you will first be prompted to set your reward rate, which defines how much you invest in customer retention.
Simply choose the option that best fits your store (you can adjust it later at any time), and then continue with the setup to complete your onboarding.

After that, your program will be automatically pre-configured based on your selection.
All that’s left to do is:
- Activate the program, and
- Enable the placements where you’d like the loyalty elements to appear in your store.
Once completed, your loyalty program will be live. You can customize everything further at any time, based on your needs and preferences.


Choose Your Widget Display Options
Once you press the "Enable" button, the first decision you'll need to make is how the loyalty program should appear on your store.
You can choose:
- Floating widget
- Dedicated page
- Customer Account Page
- Product placement
- Cart placement
- Or a few options simultaneously
Let's start with the Floating widget setup by clicking on “Select and Continue”:

General Tab - Let's Start Customizing Your Widget!
In the next screen, you’ll be taken to the widget customization panel. This is where you’ll shape how the loyalty widget looks and feels for your customers.
Start with the “General” tab, where you’ll find a variety of appearance and layout settings.

Here’s a quick overview of what you can do:
- Presentation: Choose whether your widget opens as a Popup or a Sidebar, depending on how you want it to feel.
- Position: Select whether the Sidebar (If chosen in the Presentation option) appears on the left or right side of the screen.
- Different Style Controls: From colors and border radius to text styling and card layouts this section allows you to tailor the look of every detail.
Storefront App Tab - Add Personality and Branding
Next, move to the "Storefront app" tab, where you’ll define how the loyalty interface appears to your customers inside the widget.

Here are the most impactful options you’ll want to configure:
-
Welcome Message & Program Name: Set a friendly greeting and your rewards program’s name (Use {store_name} to use the name of your store in the sentence)
Note: Please note that every message can be manually translated if needed and if multiple languages have been set for the app:
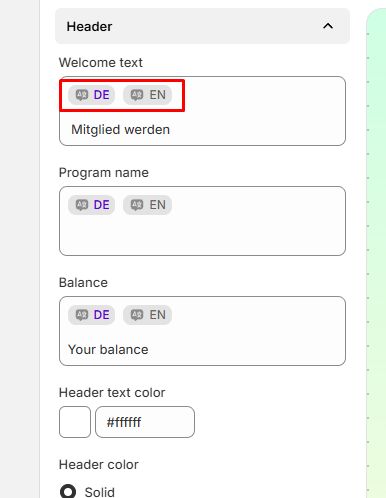
- Images and Logos: Upload a brand image or logo to personalize the experience and choose how it’s positioned.
- Translations & Labels: Customize all the key messages like “Join now”, “Sign in”, “Ways to earn”, and more making the widget feel aligned with your voice.
-
Cards and Rewards Sections: From “Points” to “Referrals” and “VIP Tiers”, tailor the text that describes how customers can earn, redeem, and enjoy their perks.

This tab is your branding powerhouse. With just a few tweaks, you can make the loyalty program feel truly native to your store’s identity.
Launcher Tab - Layout, Positioning & Accessibility
The Launcher is the clickable element on your store that opens the floating widget;

From this tab, you can customize:
- Layout & Position: Choose between a floating bubble or a label, and decide where it appears (left, right, bottom).
- Appearance: Adjust text color, background color (solid or gradient), border radius, and spacing from the sides and bottom.
-
Accessibility: Decide where the launcher will be visible on all devices, desktop only, mobile only, or set it to hidden.
This is a crucial element for ensuring your widget feels integrated with the design of your site.
Referral Screen Tab - Design the Perfect Invite!

This tab lets you customize the referral invitation screen, the one users see when they want to refer a friend.
From here you can modify:
- Cover Image and Labels in different languages.
- Headline & Message: e.g., "Get 10% Off your first order!"
- Form Fields: Customize placeholders for Name and Email inputs.
-
Button Text: Like “Invite”, “Send”, etc.
It's fully translatable and gives you control over how you present your referral incentives.
Translations Tab - Tailor Your Rewards Text for Every Audience

If you've enabled translations in your app settings, this tab allows you to localize nearly every text string shown inside the widget.
You can translate:
- Action Labels (e.g., “Claim”, “Redeem”, “Set Birthday”)
- Reward Texts (e.g., “10% off for 500 points”)
- Subscription & Birthday Messages
- Referral & Discount Messages
-
Any other text related to earning, redeeming, and managing rewards
This ensures your loyalty experience feels native to customers in every region.
Notes: Preview Like a Pro! Want to see exactly what your customers will experience? Essential Loyalty gives you the option to preview the widget both as a logged-in and logged-out user so you can perfect every detail of the experience from both sides of the screen! 👀✨

After making all your appearance adjustments, remember to hit Save at the top or the bottom of the page.

🎯 Set Up Your Dedicated Loyalty Page
Once your widget is configured, you can take things to the next level by creating a full Dedicated Loyalty Page for your store!
To do this, go back to the "Onsite" section settings:

This time, press the button "Select and Continue" on the "Dedicated Loyalty Page" section:

You’ll now be able to build your page using a variety of content blocks. Each section can be added with a click and fully customized to match your brand and strategy. Here some of the main sections available:

-
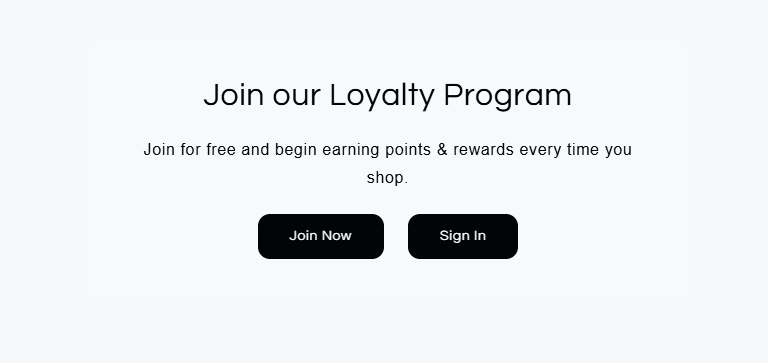
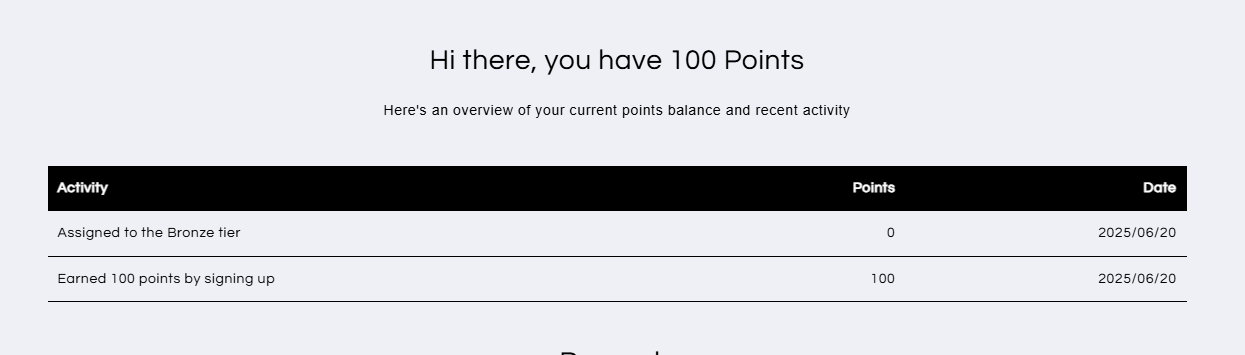
Hero Block
The main focus of your loyalty page. Unregistered users will be prompted to sign up, while registered users can check their points, rewards, and progress.
Add a compelling Hero section to welcome and engage your customers.
-
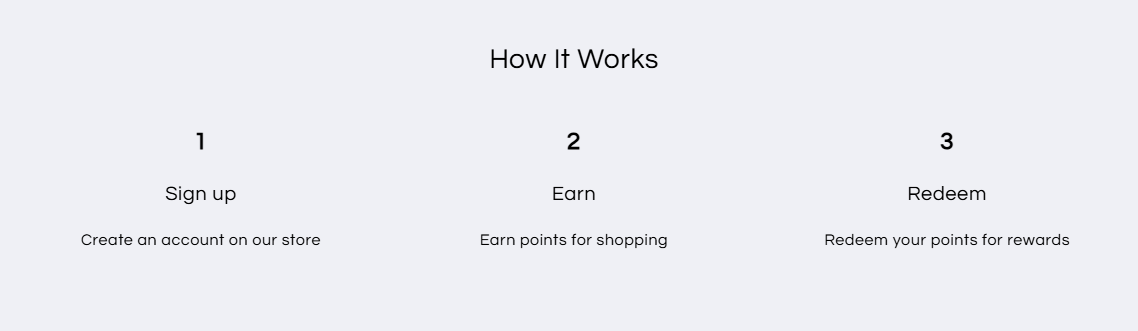
How It Works Block
Provide a simple step-by-step guide explaining how your loyalty program works.
Make it crystal clear how customers can earn and benefit.
-
Ways to Earn Points Block
Highlight all the exciting ways customers can collect points—from purchases to actions.
Motivate customers to stay active and engaged.

-
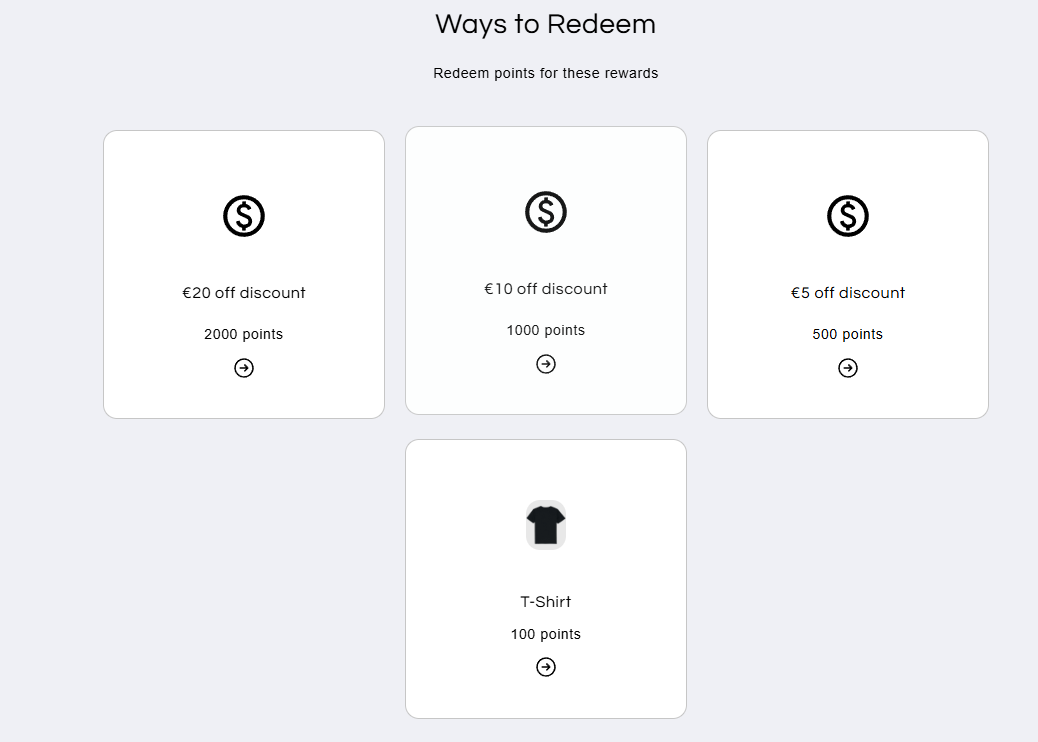
Ways to Redeem Points Block
Explain how customers can turn their points into valuable rewards.
Create a clear path from loyalty to value.
-
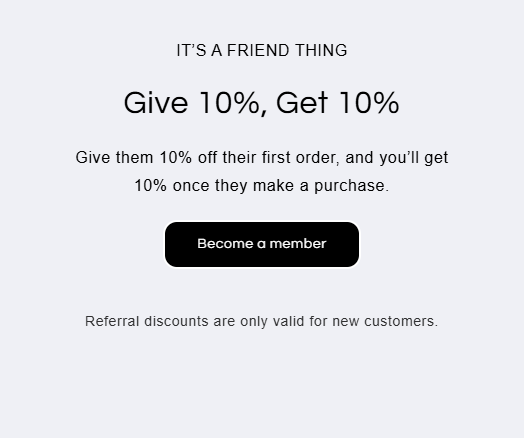
Referral Program Block
Encourage users to refer friends and get rewarded!
Turn your customers into your biggest advocates.
-
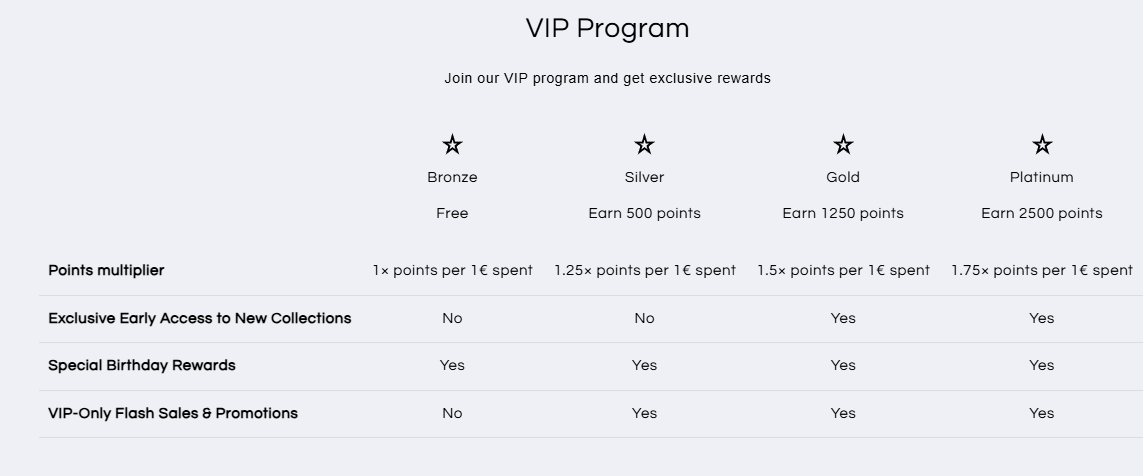
VIP Tiers Block
Set up exclusive tiers that unlock premium rewards for your most loyal shoppers.
Gamify the experience and build long-term engagement.
-
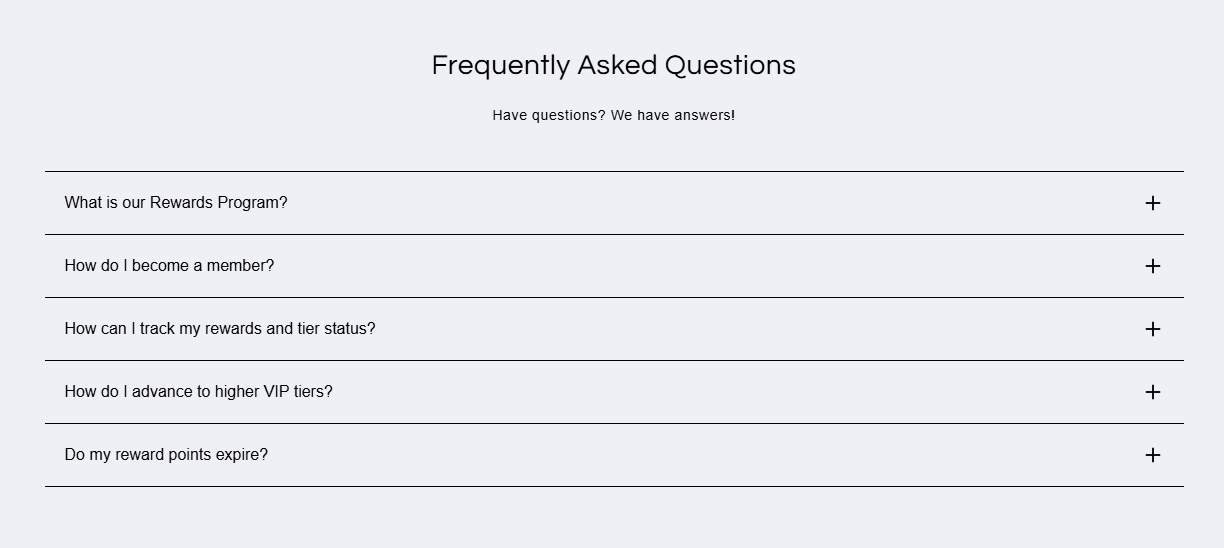
FAQ Block
Answer common questions about your program directly on the page.
Reduce confusion and build trust.
-
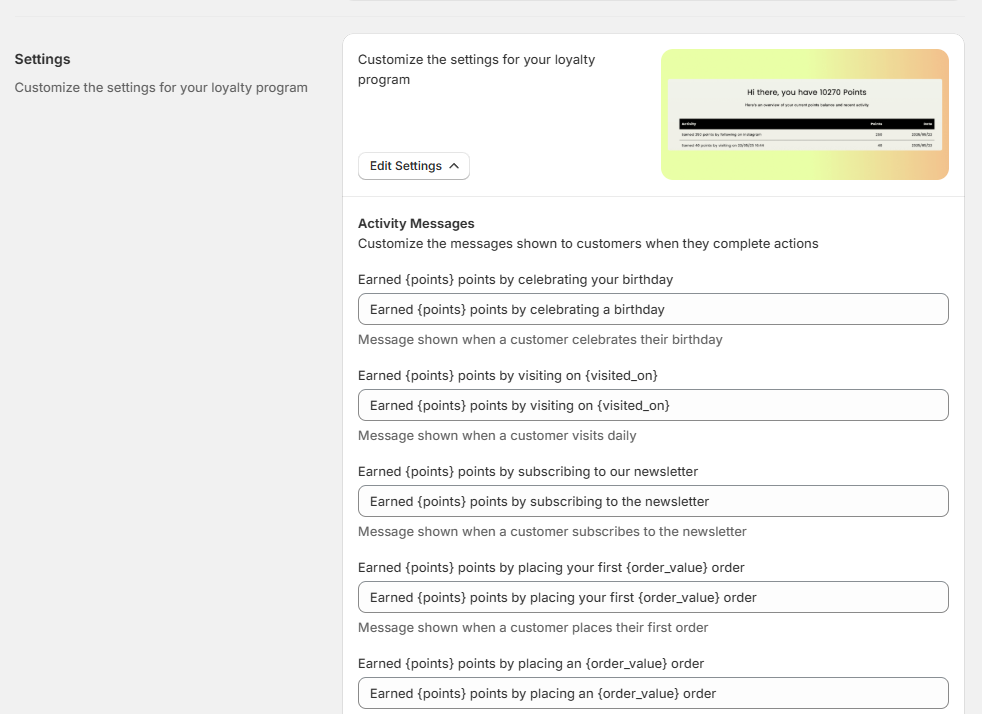
Settings
Customize the messages shown to customers when they complete actions.
Enhance the user experience and reinforce positive engagement.
Notes: This specific section can be customized only through the app settings:
When you click Add Block, each section will automatically appear in a new template created specifically for your loyalty page. They can also be added directly from the app sections on the template for easier work:


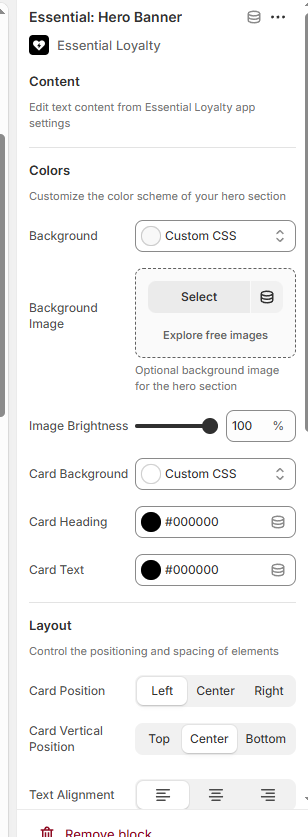
From the "Essential Loyalty" app, you can manage the text and translations for each block, while from the Theme Customization page ,you can fine tune the visual design, including:
- Content: Manage text from the app
- Colors: Choose your color palette
- Background: Add custom images, brightness levels, and CSS
- Layout: Adjust spacing, alignment, and positioning
-
Desktop & Mobile Settings: Set section height, padding, text sizes, etc.

Each block has its own set of customization options. Feel free to explore and tailor them to your brand’s identity. Don’t forget to save your changes once you’re happy with the layout! ✨
Set Up Your Customer Account Page
The 3rd option is the Customer Account Page. With this element, you can have a dedicated customer account page where customers can track their loyalty progress, view rewards, and manage their referrals:

To have this option, please make sure you have a new Customer Accounts enabled on your Shopify admin from settings:

You should also enable the Customer Account extension for our app to work. Follow the steps from the Tutorial on the app:

From the Customer Account Page, your customers will be able to see all the necessary information about the loyalty program, see their balance, and claim rewards. It is an alternative to the Floating Widget option.
Set Up Product and Cart Placements
The 4th option is Product and Cart Placements. These placements allow you to display your loyalty points reward banner directly on the product page or cart page.

For the Product Page Placement, you can choose to display the widget above or below the Add to Cart button. You can also select Custom Position. If you choose this option, you will need to add the Product Placement app block through your Shopify theme editor and place it wherever you want the widget to appear.
For the Cart Placement, you can choose to display the widget above the Checkout button. You can also select Custom Position. If you choose this option, you will need to copy the provided snippet code and add it to the desired location in your theme file.
If you need any help setting up the Product or Cart Placement, you can always contact our support team, and we’ll be happy to help.
Final Steps To Go Live 🚀
Once your page looks great:
-
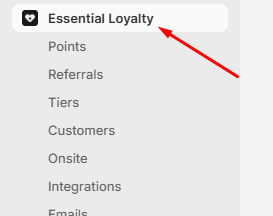
Return to the Loyalty App Home by clicking the top navigation:
-
Scroll down to see which steps are still pending:
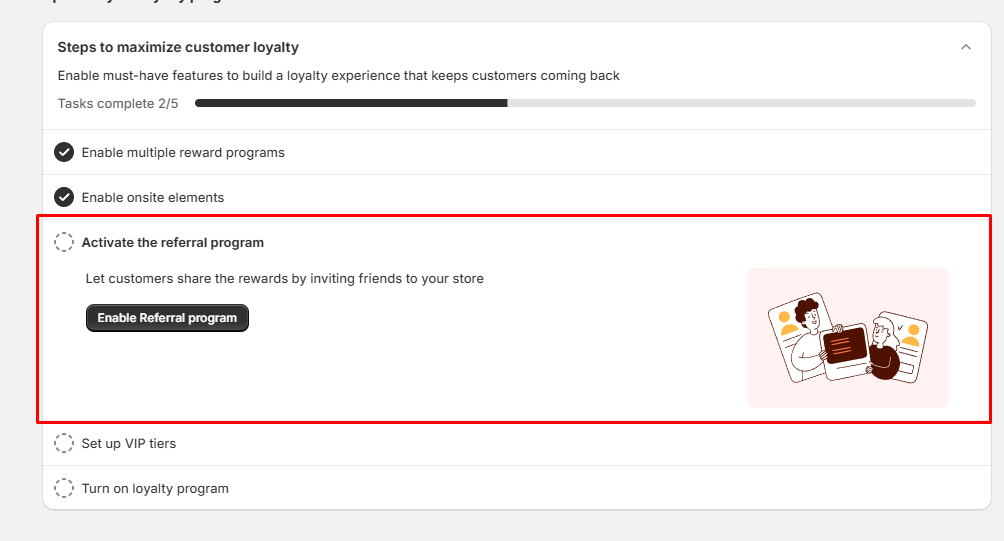
-
Optionally, you can now enable the Referral Program by clicking “Enable Referral Program.”
(Once redirected, just hit Enable at the top, and make sure to review the settings first!):
-
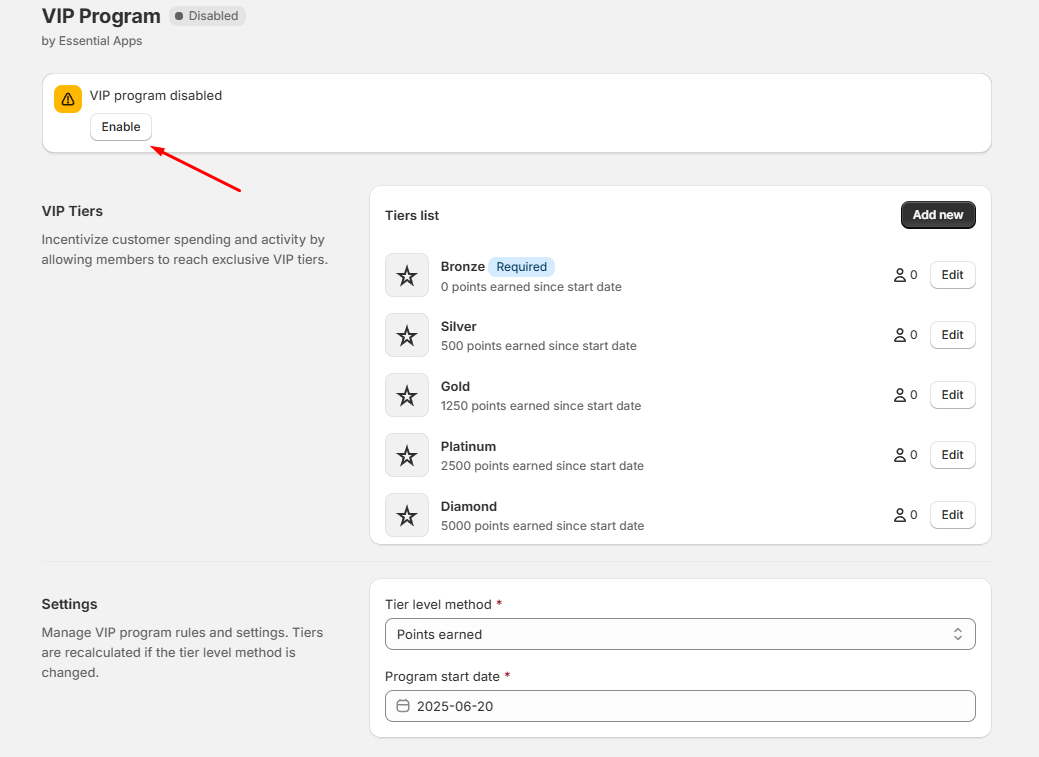
Repeat the same process if you want to enable VIP Tiers, which let your customers unlock bonus rewards as they reach new levels by accumulating points:
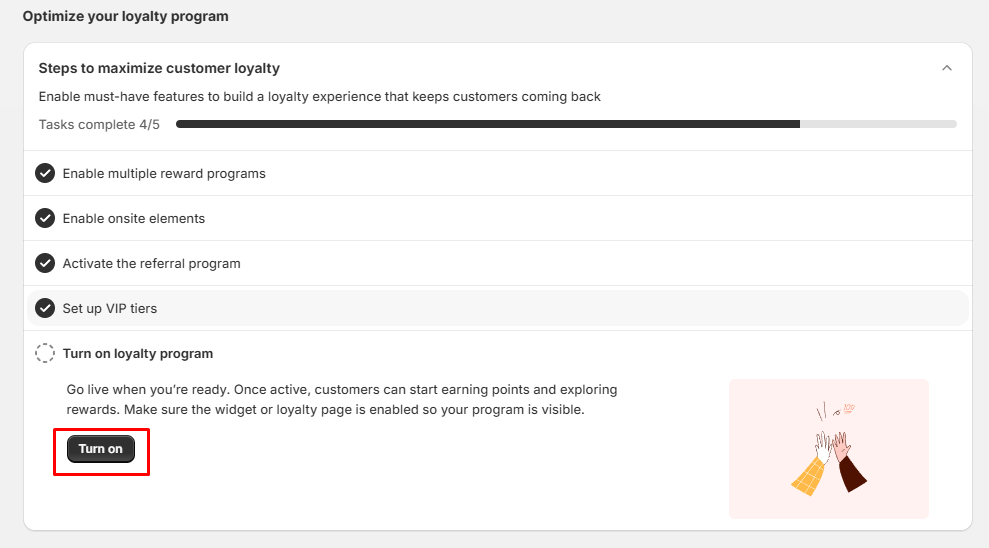


Finally, go back to the home screen and turn on the application by clicking Turn On, then Open Theme Settings, and Save:

Please note that if you turn on the application, the Essential Loyalty app will start working and the points will be assigned to customers from that point. And if you come back to the application dashboard, you have an option to disable the application:

It will work like the "Kill switch", which stops the application from working immediately; no points are assigned, no rewards can be claimed, and no e-mails will be sent to your customers.
If you need further help with the setup of your Loyalty Program, please don't hesitate to contact us from the bubble chat support you can find at the bottom right corner, where you can get in contact with our support team which will be happy to assist with that!


✅ That’s it! Your loyalty program is now fully set up and ready to impress your customers! Time to sit back and watch your community grow! 🎉